











Making good espresso at home is not a question of the machine. It's a question of six handgrips that always follow the same sequence, and an espresso recipe you can rely on.
In this article, we'll go through the espresso preparation process step by step: How much coffee goes in the basket? How do you find the right grind size? And what do you do if the espresso tastes too bitter or too sour?
What I'm summarizing in this guide, you can apply to any espresso machine. We use the DeLonghi Dedica and a single-dose grinder, the DF54, as examples. In terms of value for money, this is a great beginner setup. However, you can apply this process to any espresso machine and almost any grinder and will achieve a good espresso result.
My name is Benjamin Hohlmann. I was a Swiss and German coffee master in various disciplines and have founded a coffee business with a roastery, cafés, and a farm. For many years, I've shared everything I've learned about espresso in articles and videos. Welcome to my guide to espresso preparation.
The standard recipe at a glance
This results in 30 to 45 grams of espresso in the cup. The grind size is fine — so fine that the ground coffee forms slight clumps. More on that in a moment.
This recipe is our starting point. Once you master this recipe building block with confidence, you'll repeatedly break out of the corridor for exceptional coffees. As a basic espresso recipe, it helps you gain security and get to your goal quickly. It works for most coffees and with almost every espresso machine.
The espresso recipe: Understanding the brew ratio
A recipe for espresso consists of three numbers: the amount of coffee, that is, the amount of coffee we're using. The drink amount, that is, how much espresso by weight lands in the cup. The third variable is the brew time, that is, the time from pressing the button or pulling the lever until the shot is finished — we've written down when the brew time really starts. In coffee language, this is called "in," "out," and extraction time.
The ratio between "in" and "out" is what we call the brew ratio or drink ratio. It determines the intensity of the espresso. We perceive intensity in the mouth as texture: the espresso either sits syrupy and thick-bodied in the cup or seems more light and juicy.
| Ratio | At 18 g coffee | Character | Best for |
|---|---|---|---|
| 1:2 | 36 g | strong, dense, lots of texture | darker roasts, classic espresso |
| 1:2,5 | 45 g | balanced, sweeter | our standard for most coffees |
| 1:3 | 54 g | lighter, clearer, more fluid | switchers from fully automatic or capsule |
The classic espresso definition for many is 1:2. We prefer to work a bit longer.
"Every coffee has a point where it's sweetest and most balanced. With a bit more water in the ratio, we hit that point, the sweet spot, better."
There's also a personal reason: these very short, almost ristretto-style espressos are often too intense with complex coffees. They're too strong, too concentrated, and don't achieve balance. That's why our standard recipe is 1:2,5.
If the espresso is too strong for you, don't increase the amount of coffee. That's the most common mistake we see. More coffee in the basket means a different brew ratio — and usually more over-extraction sourness. Instead, change the amount in the cup, that is, the amount of water used, and thus extend the brew ratio.

How much coffee goes in the basket?
Your basket is built for a specific amount of coffee. Some baskets list it — it's printed on a 17-gram VST. If not, you can find it yourself in two minutes.
| Basket / Machine | Starting value |
|---|---|
| E61 brew group, 58 mm | approx. 17–18 g |
| DeLonghi Dedica, 51 mm (our recommended single-wall basket) | 14–16 g |
| Specification on the basket available | Specification ± 1 g |
These manufacturer specifications are often quite precise. Still, we'd recommend double-checking because coffees vary in density. There are two simple tests for this.
The impression test. Grind your suspected amount, distribute it evenly, tamp, and slowly lock the portafilter in place. Then remove it. There should be no impression of the shower head visible in the coffee bed. On some machines, there's a screw in the middle. You shouldn't see an impression of that either. If you see an impression, there's too much coffee.
The coin test. Place a euro coin on the tamped coffee and lock the portafilter again. Now a very gentle impression should form. Then you have enough coffee in the basket and still a bit of room to spare.
You need that space. Between the coffee bed and the shower head, there should be about 2 to 5 millimeters of clearance so the powder can expand when it gets wet.
If you're working with a hand grinder, dose consciously half a gram to a gram below the basket's rated capacity. Hand grinders have fixed click increments, and sometimes the right grind size falls exactly between two clicks. You can then fine-tune through the coffee amount. Michel's rule of thumb: rather half a gram too little than too much.
Preparing espresso in six steps

Step 1: Heating the machine and portafilter properly
The step that's most often skipped. An espresso machine isn't ready to brew just because the light is on.
On a Dedica, heating takes a few minutes. Larger machines with a boiler or thermoblock need 5, 10, or 15 minutes — in extreme cases, 30. The goal is a brew temperature of at least 91 and at most 94 degrees. If you aim for 92 or 93 degrees, you're on the right track.
You should only partially rely on the manufacturer's indicator lights. Especially the portafilter is often not yet hot. It should be around 80 to 85 degrees, hot enough that you can't hold it comfortably. You can speed this up by running hot water through the locked-in portafilter once.
A cold portafilter pulls down the brew water temperature. That's why we always leave it locked in during operation.
Step 2: Grind fresh and find the starting grind size
Coffee is ground fresh. Always. As soon as coffee is ground, its surface area multiplies, the reaction with oxygen starts immediately, and many of the finest aromas escape.
The grind size controls how quickly water flows through the coffee. Coarse means: little resistance, the water rushes through and can't extract the coffee evenly. Too fine means: the water barely gets through, coffee and water are in contact too long, and bitterness ends up in the cup. We're looking for the middle ground.
For getting started, there's a trick that works without a single shot: Look at the ground coffee.
If it looks like polenta, with recognizable cracked particles, you're in the filter range. If you're so fine that small clumps start to form, you've reached the espresso range — or you're already too fine. Michel has stuck to this indicator for years, and it works with practically any grinder.
Small caveat, which we both think differently about: Michel starts exactly where the clumps begin. I think you're often already a bit too fine at that point. In practice, it doesn't matter: either way, you're in a window of plus or minus ten seconds instead of nine or forty-five.
One more note: if you have a very old grinder that spits out whole chunks long before the espresso range, this method won't work.
We've described this in detail in the article Espresso grind size: How fine must espresso be ground?
Step 3: Dose and weigh
Weigh out the coffee. Even if your grinder has a timer function.
There are two reasons for this. First, the portafilter won't be filled properly otherwise. Second — and this is the more important one — you can't define a recipe at all without a known coffee amount. If you have a different amount in the basket every time, you never know what made the difference.
How precise this needs to be can be quantified: one gram more coffee extends the shot time by about four seconds. Those who want to keep the variation under a second need a dosing accuracy of about 0.25 grams.
Before the coffee goes into the basket: Wipe out the portafilter once. With a cloth, not a brush. No old coffee grounds or residual moisture should remain. Old coffee in the basket gets brewed a second time and tastes bitter. Plus, this old coffee creates a different resistance than the fresh grounds.
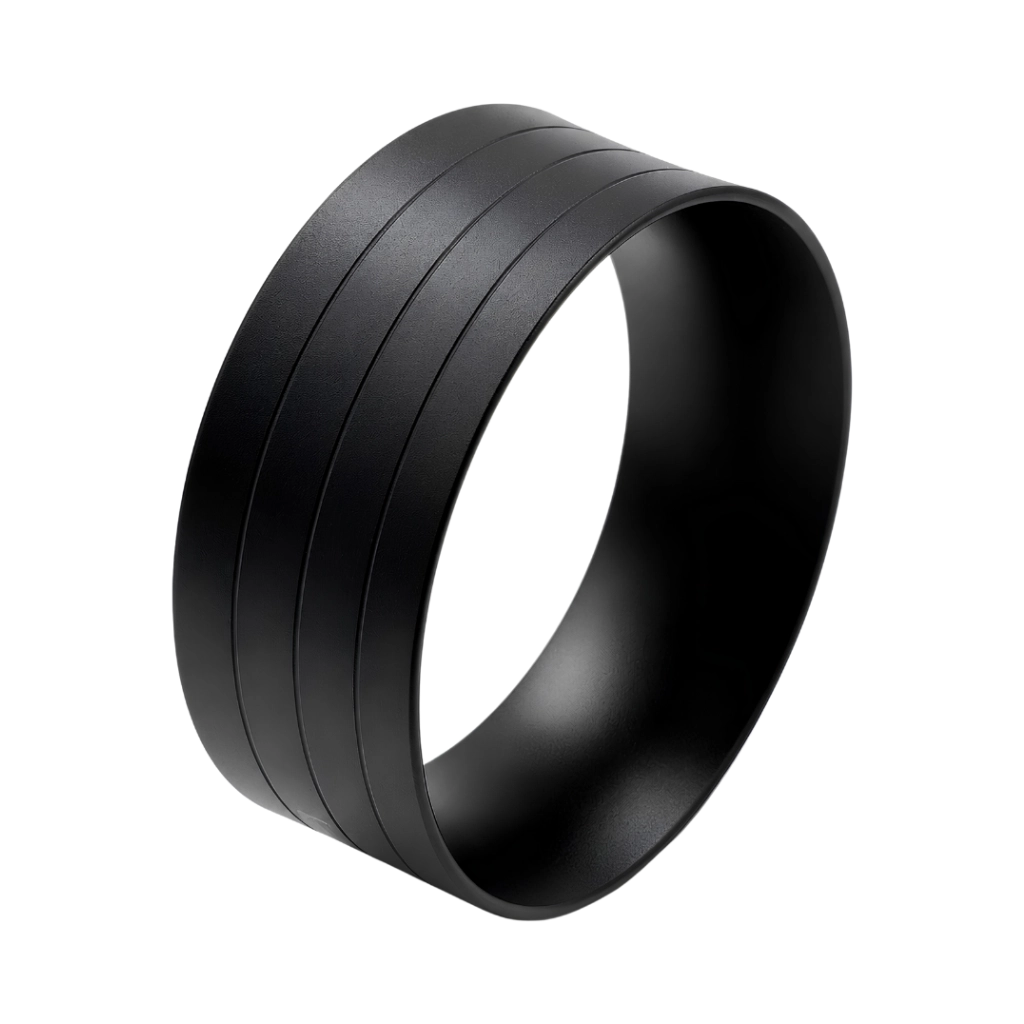
A word about the dosing cup, if you're doing single dosing: a cup belongs on the portafilter, not in the portafilter. Cups that reach completely inside and have a thick rim leave a coffee-free zone at the basket's edge. That's one of the most reliable ways to create channeling at the edge.
Step 4: Distribute and tamp
Distribution comes before compression. That sounds trivial, but it's where most shots go wrong.
If there's a hill at one spot and a valley at another, you just compress what's already there when you tamp. From above, everything looks even afterwards. But underneath, there's still a hole. And that's exactly where the water flows faster later.
There are several ways to distribute. By hand, with a side tap against the portafilter, or with a WDT tool, a so-called needle tool. Personally, I prefer vertical compression: tap the portafilter once or twice downward on a rubber mat so the powder settles. The side karate moves aren't my thing because coffee easily flies off at the edges. But the need to distribute also depends heavily on how your grinder distributes the coffee in the portafilter, or whether you're using a dosing cup.

Circular into the lower layers first, then once more at the surface.
When a WDT tool makes sense: whenever your grinder produces clumps. A small channel forms around every clump when you tamp, because it's a firmer, more compact unit than the loose grounds. The needle tool breaks them up.
If you use one, work with thin needles, five to eight of them. Guide them into the lower layers first, in circular motions, and finish slowly in the middle. Then do the same thing again at the surface. Not too fast — you don't want a strong impact on the coffee, but to distribute gently. And do it the same way each time, otherwise you won't gain reproducibility.
We generally advise against levelers. They make the surface look nice, almost like it's been tamped, and that's exactly the problem. If the leveler is set too deep, you're already tamping with the outer wings, and not necessarily straight. Clean horizontal and vertical distribution achieves the same result without this risk.

Now let's talk about tamping — and here we can set your mind at ease.
We've measured this. Michel, along with a food technologist, pulled 150 double espressos, 50 each at 10, 15, and 20 kilograms of tamping pressure, keeping everything else as constant as possible: Rancilio Specialty with a precise flowmeter, Etzinger etzMax, 18.5 grams with a maximum deviation of 0.1 grams, 93 degrees, automated tamping with the Puqpress, each shot measured with the VST refractometer.
| Tamping pressure | Ø shot time | Ø TDS |
|---|---|---|
| 10 kg | 24.24 s | 8.05 % |
| 15 kg | 23.54 s | 8.00 % |
| 20 kg | 24.20 s | 7.98 % |
150 shots, 50 per level. Raw data and ANOVA analysis in detail.
The variance analysis shows no significant difference for either measurement. Marco Wellinger from ZHAW in Wädenswil confirmed this with his own study and went even further down: below about 5 to 6 kilograms becomes critical. Above that, it's largely irrelevant.
Practically speaking: tamp with about 10 kilograms, or a bit more. Higher doesn't matter. Lower, you shouldn't go much under 8 kilograms. If you want to get a feel for it, put a bathroom scale on the floor and press down once. You'll realize that six kilos is surprisingly little.
Michel's conclusion after 150 shots: Don't worry about how hard you tamp, but tamp. An even surface is what's decisive.
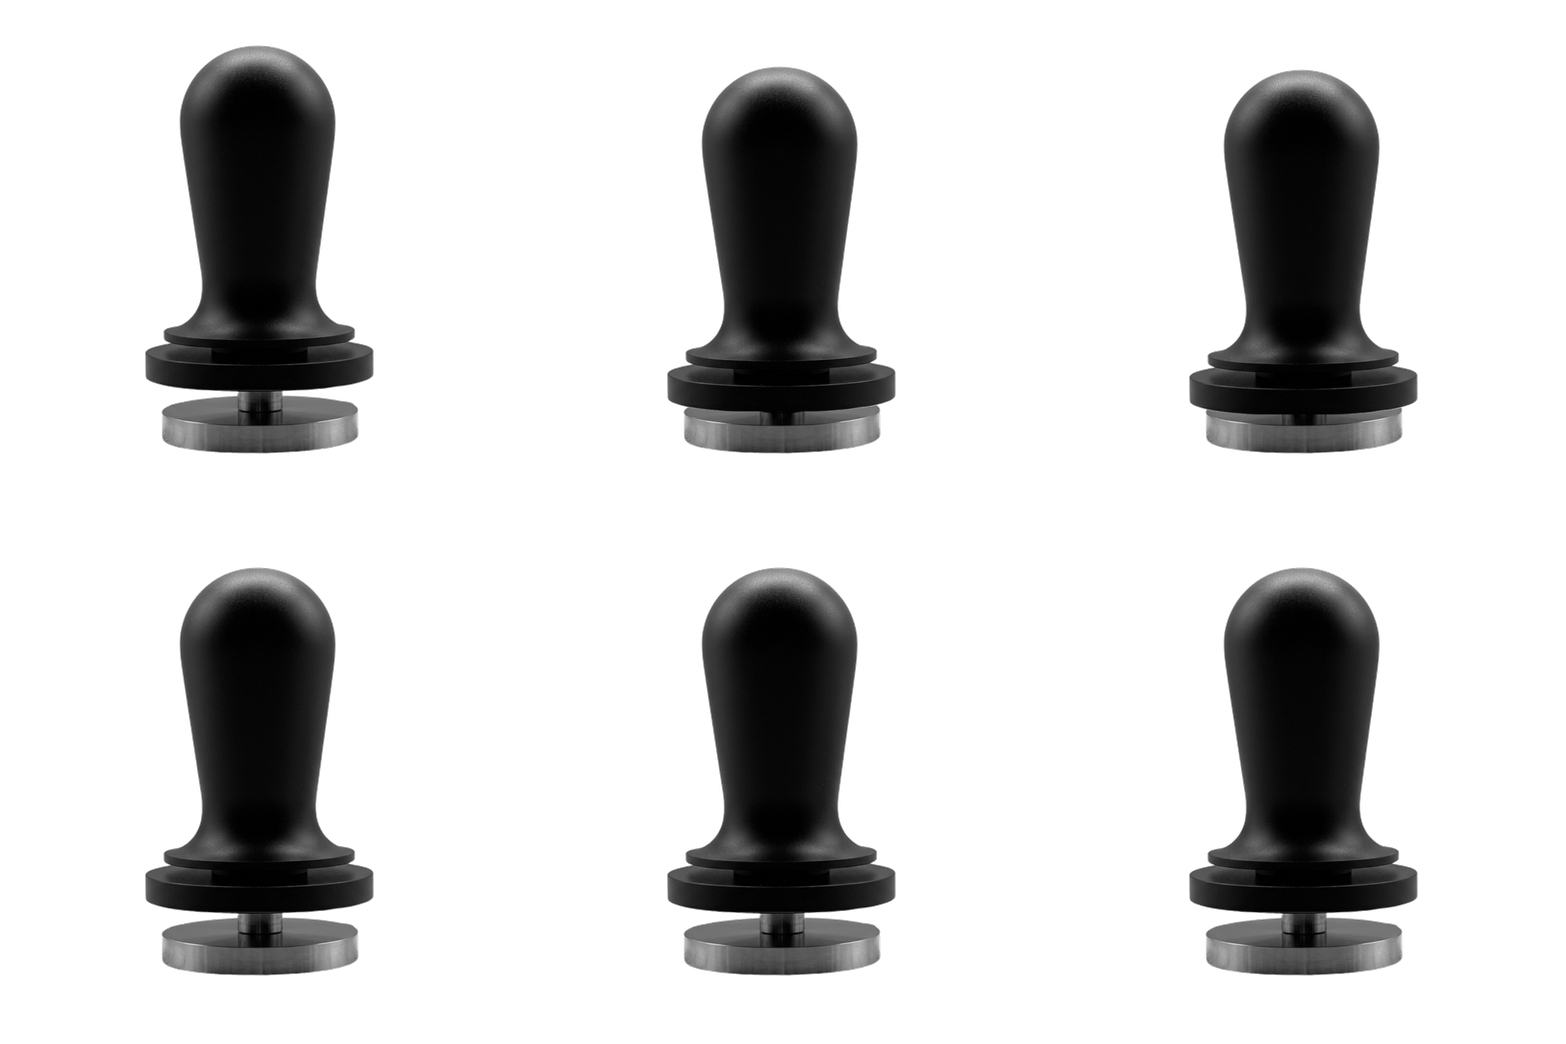
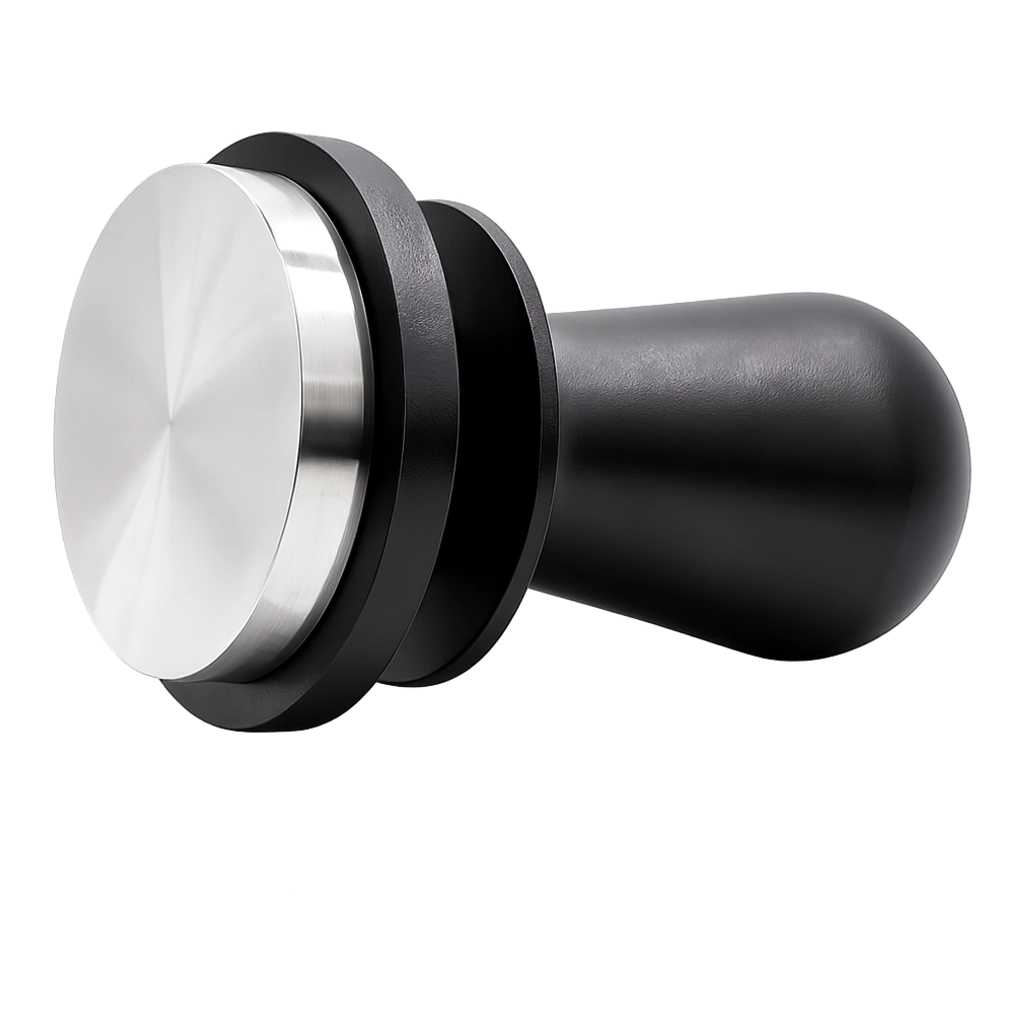
What really matters, though, is the tamper size. Baskets labeled 58 mm often have an effective inner diameter of 58.8 to 58.9 mm. A 58mm tamper leaves a ring at the edge that's never properly compressed. Use one with 58.4 or 58.5 mm. Our own KM tamper fits flush with the edge and still prevents a vacuum from forming when you pull it out that would lift the coffee puck.
Two things to finish this step, otherwise everything falls apart:
Don't knock the tamper against the portafilter. That was standard practice taught in the 2010s to knock powder off the edge. The coffee puck jumps away from the basket wall every time. The result is channeling.
Make sure your work surface is dry. A single drop of coffee on the tamping mat is enough for the tamper to stick to it and tear open the tamped surface.
Then wipe briefly over the bayonet lock so the portafilter is clean in the upper area. Otherwise, your shower head gets dirty over time, and then water runs past the portafilter on the left and right.

Step 5: Rinse, lock in, start immediately
Rinse once between each espresso. Either right after the last shot or immediately before the next one.
This has two reasons. The first: the shower head is cleaned from the old coffee. To do this, run one test. Pull a shot, remove the portafilter, put a glass underneath, and let water run. You'll see how much residue was still hanging above. The second reason is temperature: with some machines, like classic dual-boiler systems, a longer rinse brings the too-hot brew group back to the target value. This is called a cooling flush.
With other machines, the temperature drops too much from rinsing. Then it's better to rinse right after the shot. You need to get to know your machine at this point.
After rinsing, wipe the drip tray once with a cloth.
And then comes the point where Michel is uncompromising: start immediately.
Once the portafilter is locked in, it's sitting under a warm, damp shower head. The coffee doesn't care where the water comes from: it starts to swell and extract. From five seconds on, we measure differences in extraction behavior. From ten seconds on, we taste them clearly. After that, things go downhill fast: instead of a thick-bodied espresso, eventually just water flows out.
So prepare everything beforehand. Scale on the drip tray, cups on top, tared. When locking in, your hand is already on the button or lever.

"Locking a portafilter in should work silently."
Anyone who thrusts the portafilter vigorously into the brew group and bumps into something along the way dislodges the coffee puck from the edge. A crater forms there, water drains faster, and there's a shortage elsewhere. By the way, this is penalized at world championships and also at our home barista championship.
Step 6: Extract and measure
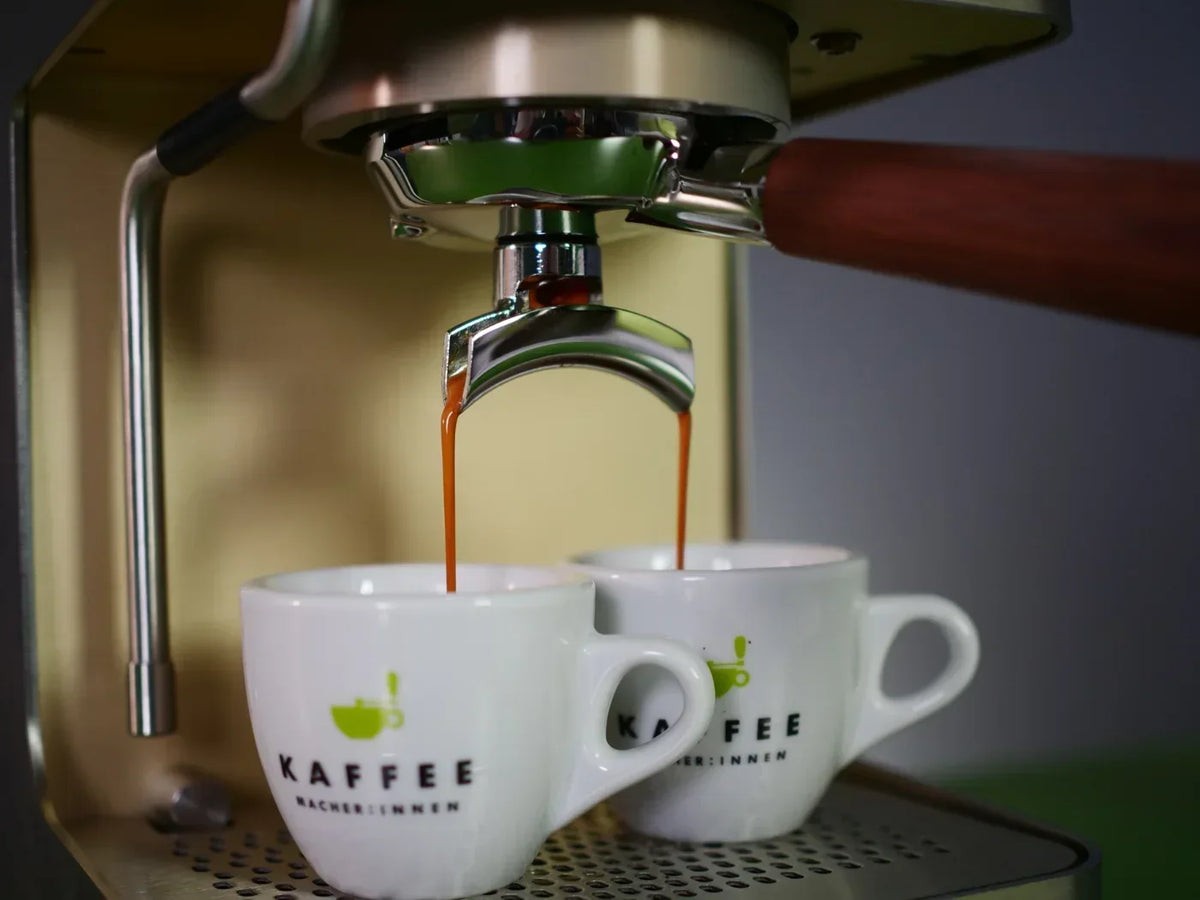
Now the espresso is running. Keep an eye on two things: the amount on the scale and the time.
Stop just before reaching the target amount: at 18 grams of coffee and a ratio of 1:2.5, so just before 45 grams in the cup. The tail end brings the last few grams.
Watch the first drops. If they come out clear like water instead of syrupy, you have channeling. You don't need to drink this cup.
The time you measure is your most important diagnostic variable. It tells you which direction the grind size needs to go.
Adjusting the espresso: the three-shot principle
The first espresso rarely hits the mark. That's normal and happens to us too.
Michel demonstrated this for us under difficult conditions: three foreign grinders, the grind scale taped over with masking tape, no number reference at all. He dialed in all three with a total of seven extractions to the standard recipe.
The logic behind it:
Shot 1 tells you where you are. Start at the clump point from step 2. Dose, tamp, pull, and time it.
Shot 2 tells you what an adjustment does. Correct in small steps, not in whole numbers. With many grinders, there's a lot of space between two numbers. Important: after each adjustment, first empty the retention. With a Eureka Mignon, that's about three grams that you discard. Otherwise, you're grinding a mixture of old and new grind size, and the whole process doesn't work.
Shot 3 is the conclusion. Now you know how many clicks roughly corresponds to how many seconds, and you can correct deliberately.
The direction is simple:
Espresso runs too fast → grind finer. More resistance, the water is held back longer. With most grinders, finer means: smaller numbers.
Espresso runs too slow → grind coarser. Less resistance. Larger numbers.
A note for those watching the seconds: strictly speaking, the shot time is a consequence of other parameters, not the adjustment itself. For home use, it's still the best tool you have: it's easy to measure and correlates well with what ends up in the cup. Just don't get caught up in an exact number. A shot at 34 seconds can taste better than one at 26.
And: always change only one variable. If you adjust grind size, amount, and ratio at the same time, you won't know in the end what made the difference.
Two situations where you need to readjust without having done anything wrong: with every new bag of coffee — even the same coffee, because the roast differs — and in high humidity, because the powder then swells and creates more resistance. On humid summer days, a click coarser helps.

Troubleshooting: Symptom, cause, correction
This table is the part you can print out or keep open on your phone.
| Symptom | Most likely cause | Correction | Check |
|---|---|---|---|
| Runs through in under 20 seconds | Grind size too coarse | Grind finer, empty retention | Shot time |
| Runs over 40 seconds or drips only | Grind size too fine | Grind coarser | Shot time |
| Tastes sour and thin, little body | Under-extraction from too coarse grind | Grind finer or lengthen ratio | Shot time, taste |
| Tastes bitter, dry in the mouth | Over-extraction from too fine grind | Grind coarser or shorten ratio | Shot time, taste |
| Tastes sour, bitter, and dry at the same time | Channeling | Check distribution and tamping, lock in silently | First drops: thick or watery? |
| First drops clear like water | Channeling, channel in the puck | Rework puck preparation | Bottomless portafilter |
| Water runs past the portafilter on the sides | Shower head or bayonet dirty | Remove shower head and clean, wipe portafilter | Visual inspection |
| Channeling always at the same spot | Shower head partially clogged | Remove shower head, clear all holes | Visual inspection against light |
| Hardly any crema, coffee seems flat | Coffee too old, CO₂ missing | Check roast date | Roast date |
| Coffee bubbles during shot, uneven extraction | Coffee too fresh | Let rest 1.5 to 2 weeks | Roast date |
| Espresso tastes rancid or musty | Portafilter or shower head dirty | Clean, backflush | Look at rinse water |
| First shot in the morning tastes off | Machine not hot, cleaner residue, old coffee in retention | Wait for heat-up, run water through, discard first grind | — |
| Results vary without obvious reason | Waiting time between locking in and start | Prepare everything, start immediately | Procedure |
| Acidity increases over months | Boiler or heating coil scaled, result: lower temperature | Descale or have descaled | Water hardness |
Sour or bitter? First learn to recognize it properly
Before you correct, you need to know what you're tasting. And this is exactly where a trap lies that's well documented: inexperienced tasters in Western coffee cultures regularly describe sour espressos as "bitter." If you then grind coarser, you make it worse.
Two clues to tell them apart:
Sourness hits you immediately, right at the front of your tongue, in the first moment. It can be sharp and biting or lively and interesting. That's a distinction worth practicing. Comparing with lemon (sour) and artichoke (bitter) helps with practice and recognition.
Bitterness comes out at the back, in the aftertaste, and often comes with a dry, dull mouthfeel.
A balanced espresso tastes sweet by nature. If you taste sweetness, you're on the right track.
And one more thing that often gets overlooked: acidity belongs in coffee. With complex enjoyment products, it's what keeps the flavor alive. An espresso without any acidity is pretty flat. Imagine a wine without acidity.
If the espresso remains too sour despite correct timing and ratio, it's usually one of three things:
We've described this in detail in Espresso is sour? 6 tips for less acidity.
What you really need
Surprisingly little. But at one point, you shouldn't skimp.
A grinder. It's the biggest lever and more important than the espresso machine. It depends on how the particles are cut and how even the distribution is. A decent electric espresso grinder starts at around 200 euros. In the cheaper range, a solid hand grinder from about 100 euros is the better choice. It makes espresso just as good as significantly more expensive electric grinders and has practically no retention. A selection of very good hand grinders we've included in our shop. Which electric grinders we recommend is in the big espresso grinder test.
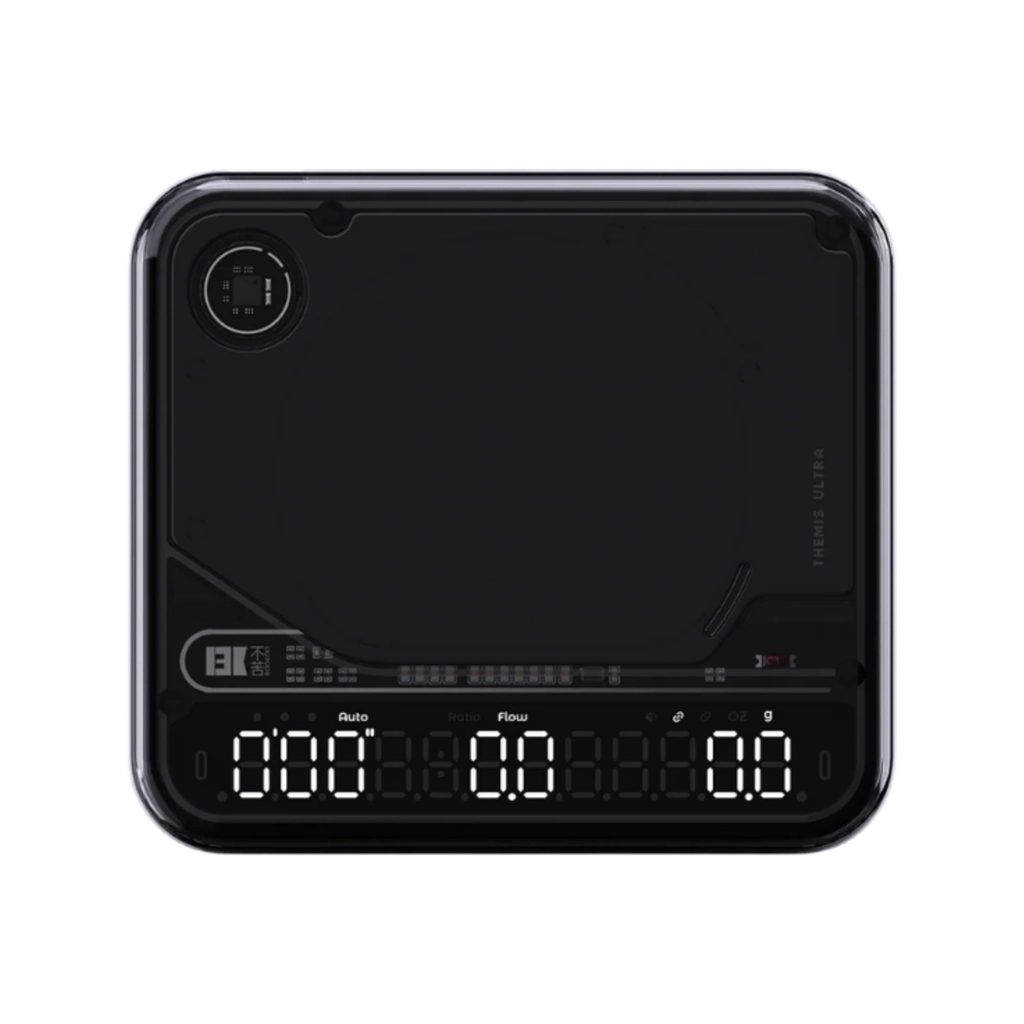
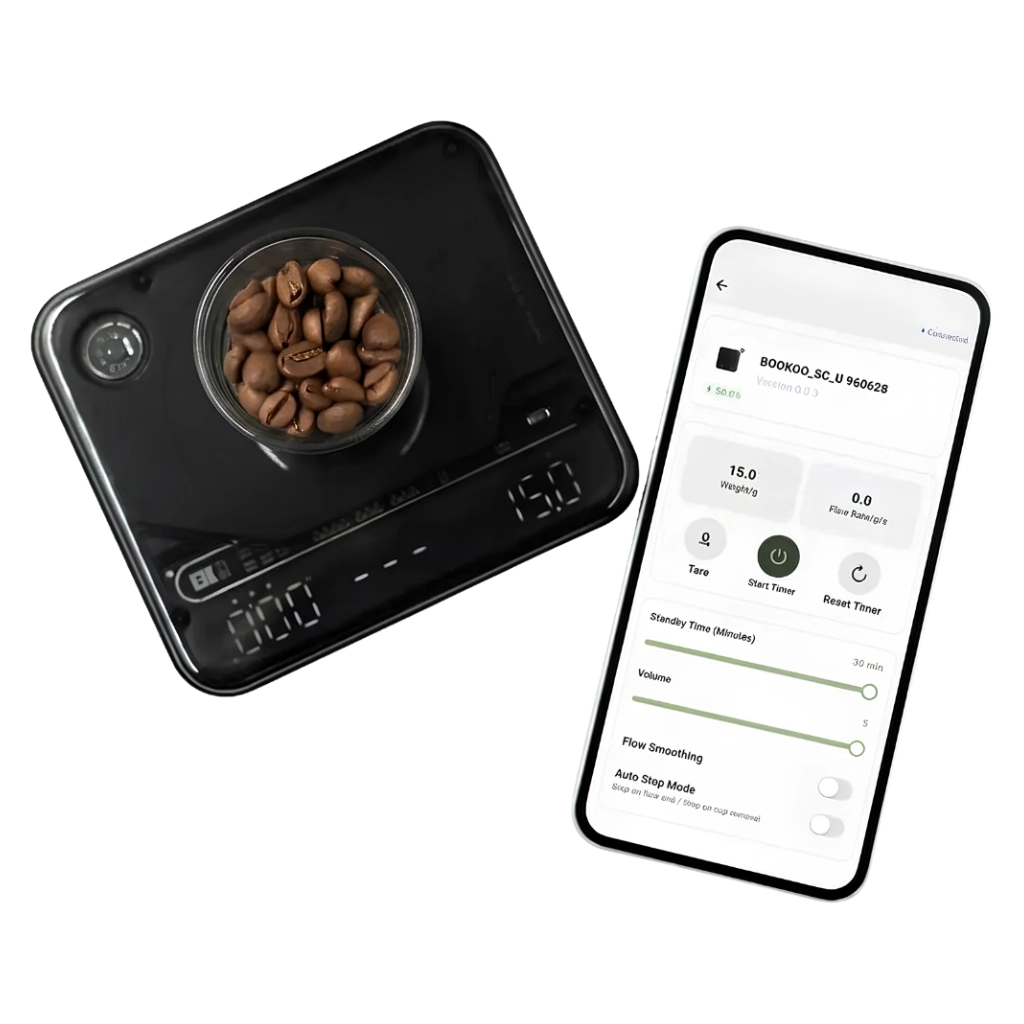
A scale. Any kitchen or postal scale works. It's good if it reacts quickly to weight changes. Models with a timer save you from counting. Some models even show you during the shot how many milliliters per second are arriving in the cup. Our selection is available at scales.
A matching tamper. 58.4 or 58.5 mm for a 58mm basket. An air channel in the base prevents a vacuum from forming when you pull it out, which would lift the coffee puck — just like our KM tamper.
Optional: a WDT tool. Five to eight thin needles. Useful if your grinder produces clumps, with dark roasts, and in dry rooms. Our needle tool is built exactly for that.
A good basket. Cylindrical, cleanly stamped holes, no double bottom. We have a selection in baskets.
Soft water. For espresso, we recommend a total hardness in the range of 3 to maximum 6 German degrees of hardness. Anything over 15 °dH is hard. That not only scales the machine but also buffers away the acidity in the coffee. More on that in the coffee water article.
What you don't need: a double-wall basket. It simulates pressure that the coffee puck itself doesn't build, and delivers a fizzy crema instead of real crema. As long as you don't grind yourself, it's a useful crutch. Once you grind fresh and adjust the grind size, it hides exactly the feedback you need. Why that is, we explain in the article Double-wall basket.
You learn espresso fastest when someone stands next to you and tastes along. That's exactly what our courses are for — on-site in Basel and the Ruhr region or as an online course for home.
Frequently asked questions
How many grams of coffee for a double espresso?
Depending on the basket, 14 to 18 grams. With an E61 brew group, 17 to 18 grams is a good start, with a DeLonghi Dedica, 14 to 16 grams. Check it with the impression or coin test.
How long should an espresso run?
25 to 30 seconds from button press. Under 20 seconds gets sour, well over 35 seconds gets bitter.
Why do we always brew double?
Because the taste result is better. The geometry of the single basket doesn't fit the espresso machine well and prevents even extraction of all the grounds. More coffee allows more even extraction.
When does the extraction time start?
From button press or lever movement. Sometimes the first drop doesn't come for 10 to 15 seconds of extraction time. If you go by that, you don't have a consistent measurement variable.
How hard should I tamp?
About 10 kilograms. Anything higher doesn't matter. Anything lower, you shouldn't go much below 8 kilograms. More important than the pressure is that you tamp straight.
How fresh does the coffee need to be?
For espresso one and a half to two weeks after roasting. After that, about two to four weeks. Coffee that's too fresh still contains too much CO₂ and extracts unevenly.
Do I need to readjust the grind size with every bag?
Generally yes, at least slightly. Even the same coffee varies in roast. Switching from light to dark is often several clicks.
My espresso tastes sour and bitter at the same time. What's that?
Channeling. The water found itself a channel, over-extracts there (bitter), and leaves the rest of the puck under-extracted (sour). Check distribution, tamping, and whether you bump into something when locking in.
Do I really need a scale?
Yes. Without a known coffee amount, you can't define a recipe, and without a known drink amount, you don't know what brew ratio you're working with.
Is a leveler worth it?
Usually not. Clean horizontal and vertical distribution achieves the same thing. A leveler set too deep already tamps with the wings — and rarely straight.
Conclusion
Good espresso at home is not rocket science, but it requires care at three points: a grinder that grinds fine and evenly, a scale so you actually have a recipe, and a procedure that you follow the same way each time.
Start with 18 grams in the basket, aim for 45 grams in the cup in 25 to 30 seconds, and work your way to the grind size in three shots. Once that's down, you move on to fine-tuning — and from there on, your taste decides, not the stopwatch.
And if it doesn't taste right: the troubleshooting table above covers pretty much everything we encounter in our courses.
Read more
- Espresso grind size: How fine must espresso be ground?
- 20 mistakes in espresso preparation
- Channeling – avoid channel formation in the espresso puck
- What influence does tamping pressure have?
- Espresso extraction time: When does the brew time really start?
- Double espresso: Amount, preparation and difference from single
- Pre-infusion in espresso: What does pre-infusion really do?
- Espresso temperature
- The right coffee water
- Double-wall basket: What's behind it?


